
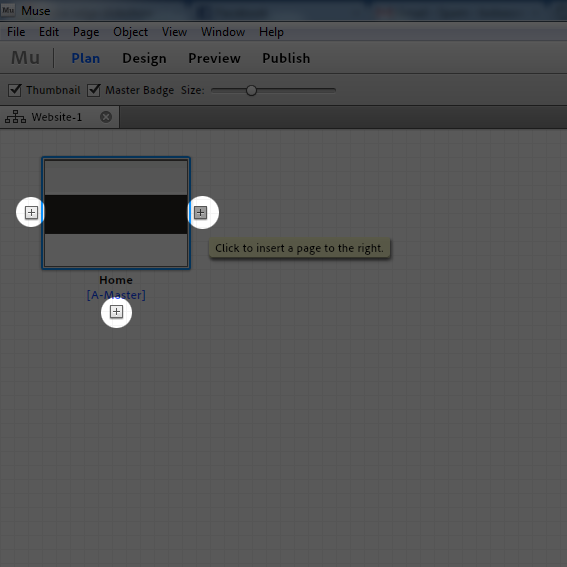
I will add three pages to HOME. With each new subpage perform the same function as a subpage HOME.Of course, if we change the name of this sub we will also create the main menu of our website.

As you can see I've added three more pages, which is still the name of home, about, products and contact.
Now we need to move the A-MASTER, click on the sub twice and begin to set the whole menu.
If you have already entered into this tab, we can proceed with further work. So let's get to the right side of your screen, and there are interesting additions such as the Library and Widgets MENUS. We have threeoptions to choose, I choose HORIZONTAL.

To add a supplement to our site simply click on the left mouse button and drag it anywhere on our site.

As you can see our buttons were given the same name as the pages that were previously added and appropriately named.
Everything looks good but our menu is so primitive, so editing is proposed to join our menu. First you need to select our allowance and just go to the tab where you can change the TEXT typeface. I set our font to Arial and the size of 18 points, and choose the option bold.
If you already dopasowałeś everything under your discretion, proceed to the next step.
As you can see with our add-on you can see the little blue dot, in which the arrow icon. Click on it and enter the additional settings of this add-on. You can set how everything will fit you, but you can do it like in the image below.

After all treatments appeared a little problem with the spacing between the buttons, but just deal with it can handle.
Now we add the graphics for our button. To do this, select one of the buttons, it could be HOME.

The next step is to add graphics. To do this, go to the Fill tab, you will find on the right side of the screenand click the little folder there, who signed the Image. Select the graphic you want to put under the menu, and click OK.

Everything looks pretty cool, the graphics have been planted for each of the buttons, but not what I meant.We need to adjust the size of graphics for each button, but before we get to that let's you add the nextgraphic, which will inform the user that is on your side. I mean Rollover Options, Mouse Down, etc. So go to the States and is there, select Rollover. If you check this again, go to the Fill tab and select a small folder from which you select another image.

The same is possible with the state ACTIVE.
Now we'll match fit for the graphics menu. Select one button and use the controls that appear around thebutton, drag it down, up or sideways.

As you can see in the picture it looks very nice :) Our work with the buttons can be considered complete.You can enter the Preview view and see how our site works

Thank you for your attention. I invite you also to watch the movie.
I hope you can help me, when i drag the horizontal menu from the widgets library, it does not automatically give me all the links to my sub pages, only home, my home page is set as A Master, the rest not, what am i doing wrong?
OdpowiedzUsuńIf you want to learn about Graphics Design, open-tutor.com is the best platform for you. It provides online graphic design, Adobe Photoshop and Illustrator Tutorials for beat career building. Open-tutor.com also offer latest update of Jobs Circular in Bangladesh. Visit open-tutor.com for more details and updates.
OdpowiedzUsuń