
In this tutorial will show you how you can easily make a mirror image of the text. Open in Photoshop New (Ctrl + N), select the text tool (T) and piszymy something.
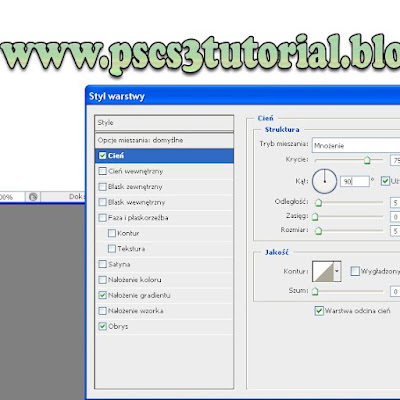
Now, by right-clicking on the layer with the text select Options and do some mixing colors.
Now, by right-clicking on the layer with the text select Options and do some mixing colors.
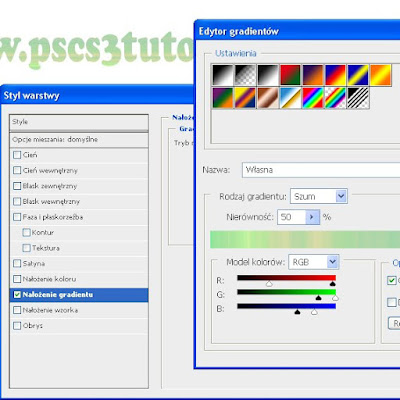
You can also do such Obra and shade for better effect
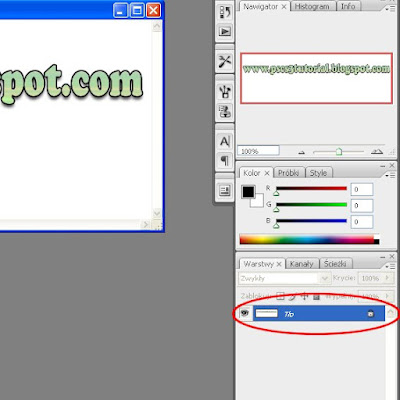
If you do everything as described, it is important at this time to do such a thing as a flatten image. If you do not do this effect will not, so click the right mouse button on our background layer and choose Flatten Image, or choose from the menubar, Layer-> Flatten Image, and we should all be on one layer.
 Select the wand tool and click on the white area which should look like
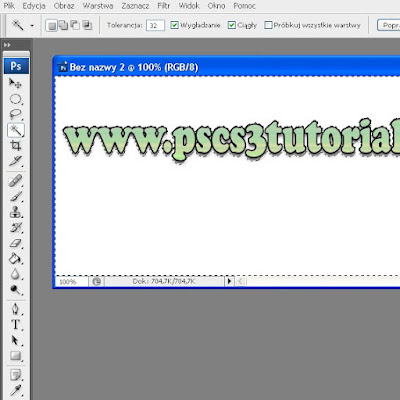 Now we use the keyboard shortcut Ctrl + Shift + I, and our selection should be reversed or should be marked the same text. Press Ctrl + C and Ctrl + V or copy, paste.
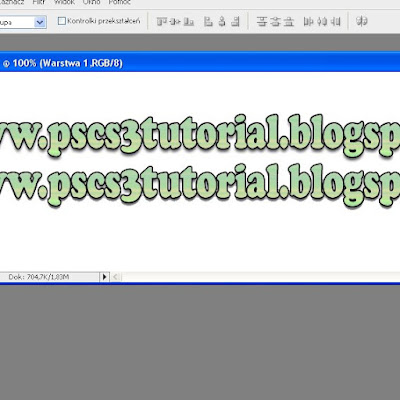 Now select or Ctrl + T Transform, we will select our text. Click on the right mouse button and select Flip Vertical
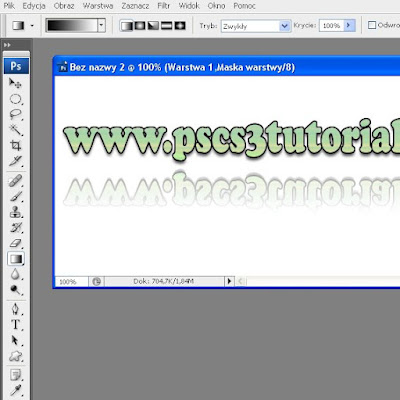
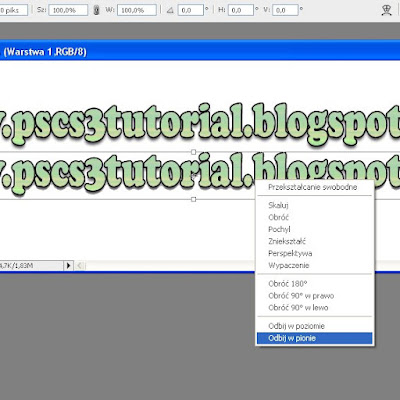
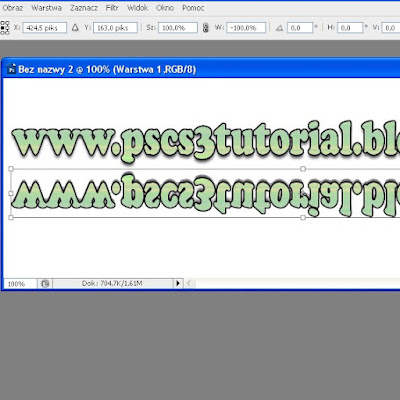
and we should have such an effect
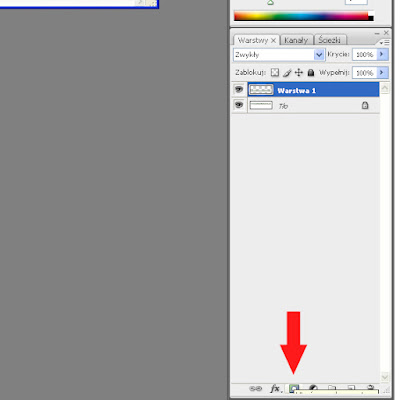
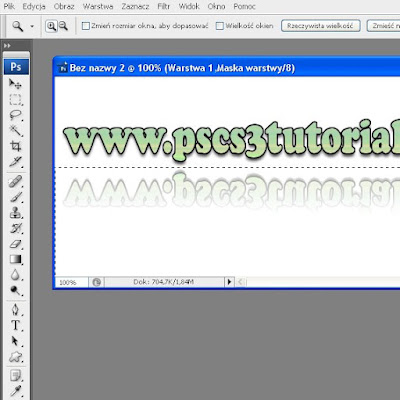
Click Enter to confirm and select Create a layer mask
How do we do that is to select the gradient tool and drag it from the bottom up by creating such an effect
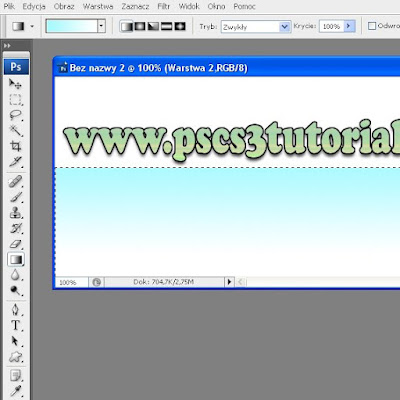
To this a theme you can still do it. Select the Rectangular Selection tool and do something
Now click on Create a new layer and choose Gradient with some interesting color and drag it to the selection
We see that our zakryło layer with the text so the layers palette, drag the gradient layer below so that we uncovered the text, click Ctrl + D to deselect the selection effect, and we finished!

Feel free to watch video
Brak komentarzy:
Prześlij komentarz