
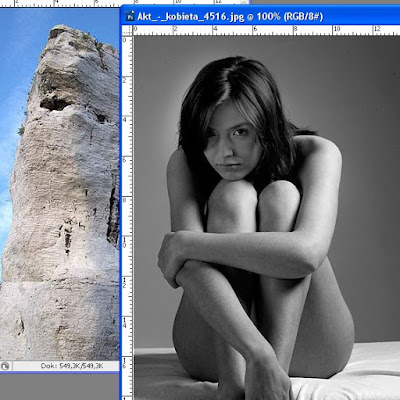
I'll show you how you can make a pattern on the skin. If you do not have any interesting pictures of such a pattern to what we want to put on the skin is proposed to use Google or Flickr How we get our pictures to open them in Photoshop, choose File-> Open (Ctrl + O).
Now move the image from our patterned on the picture to the person to which it will bore our pattern, in my case, it will rock.
Now move the image from our patterned on the picture to the person to which it will bore our pattern, in my case, it will rock.
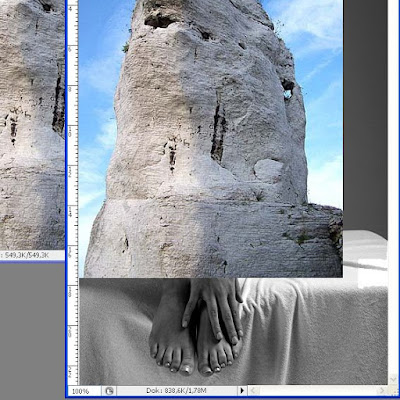
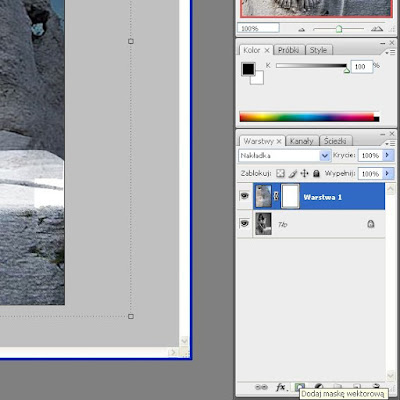
If our image of a pattern is smaller than the image of the person select a monza keyboard shortcut Ctrl + T, which implies that our image will be able to convert. Click the mouse on one of the squares have jumped on the corners of the patterned image and drag to zakryło our person. Click ENTER to confirm (no jump, no box does not appear but our image will be further selected to convert, so click ENTER)
Now make sure that our image in the Layers palette (right) selected and choose Overlay from the drop-down menu
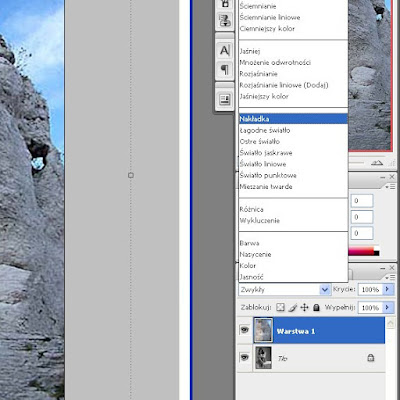
Our pattern is imposed but not what we have going on, so we go ahead and click on Create a layer mask (this option is in the bottom of the Layers palette)
Now go to Edit and choose Fill (Shift + F5). Appears we have a window there, select Fill and Color ... and press OK
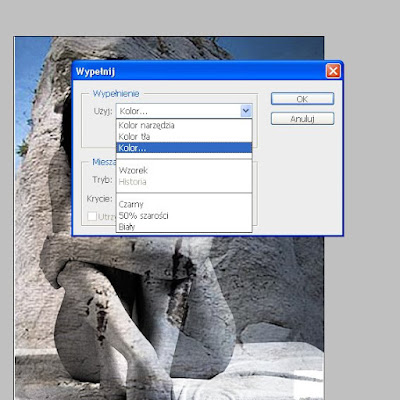
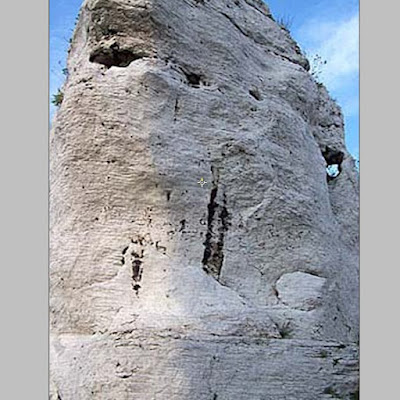
We will now window with color, choose black and hit Ok. Now we see that our image is in the same condition as before the previous image belong.

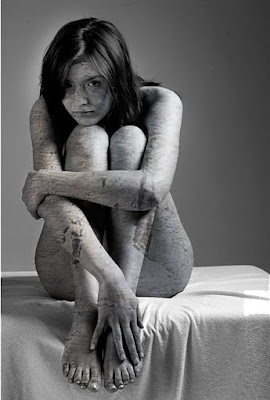
If the image will look like as above to select a brush (from the palette on the left) and now paint the skin of our character. Best to do so carefully that he was a cool effect and avoid the hair, eyes, lips and clothing
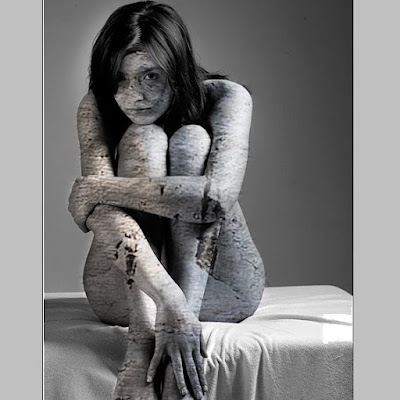
And the effect we have finished. In order to improve it can still be in the Layers palette, set the opacity to less
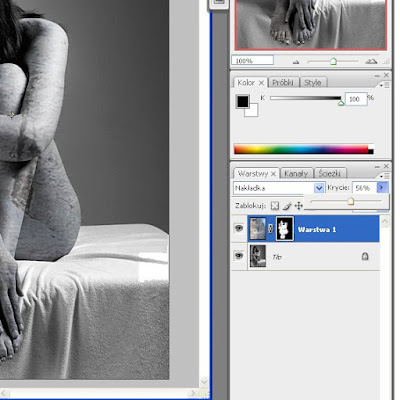
Effect Ready
Feel free to watch videos!
Brak komentarzy:
Prześlij komentarz