
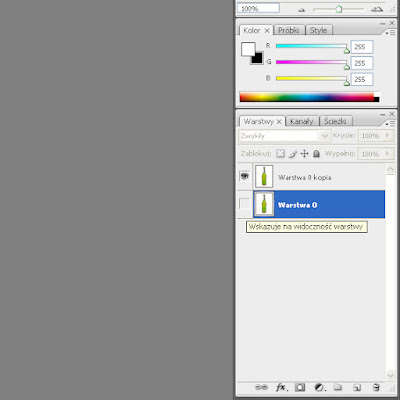
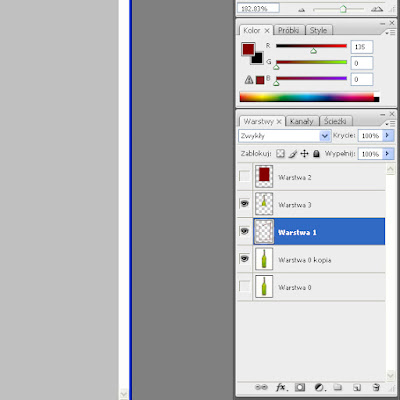
We go further. Now, how best to powielimy our image, it can be done by using Ctrl + J. Once we do that, we can hide the layer 0 by clicking the eye in the layers palette
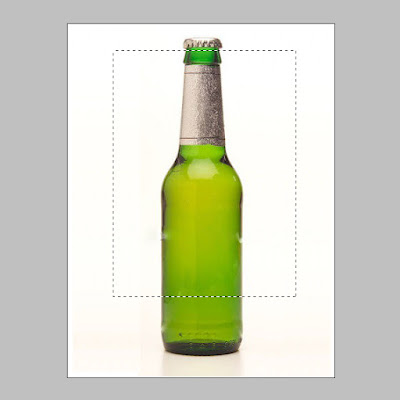
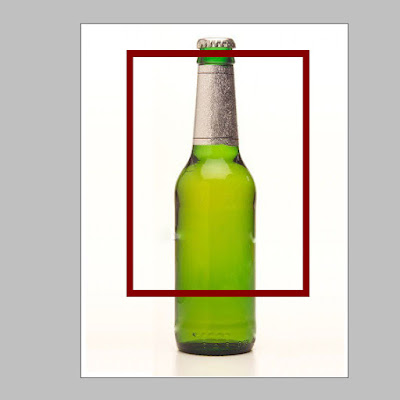
Now select the new layer such as a shortcut Shift + Ctrl + N and click OK. Now select the tool - Rectangular Selection (M) from the palette on the left side and draw a square or rectangle on your image.
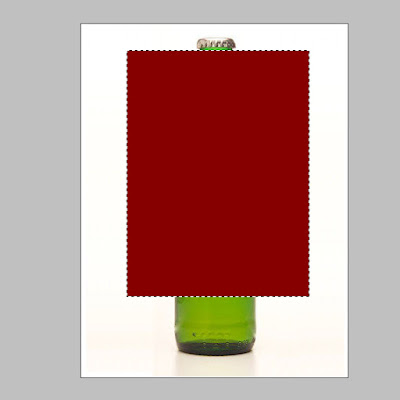
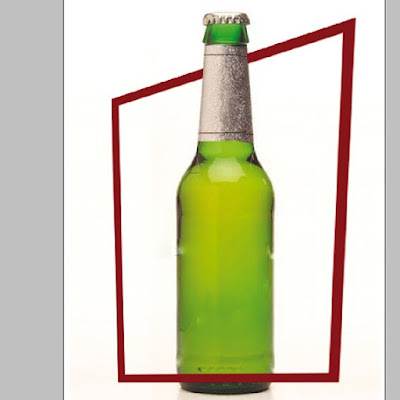
It was fun to check now complete, and therefore the pallets choose Tools Bucket tool (G) and choose any color for our future frame. As we have already invaded our box and click the mouse so that the fill color that we chose. Another thing we have to do is replicate this rectangle as useful to us the same at the end. Simply select the shortcut Ctrl + J and we have another one rectangle, go to the layers palette and turn off the eye so that the second rectangle we do not interfere in your work.
Now go a little higher and more specifically to the Select menu and choose Change-> stenosis. The window in which we need to determine if pixels have we reduced our selection rectangle.
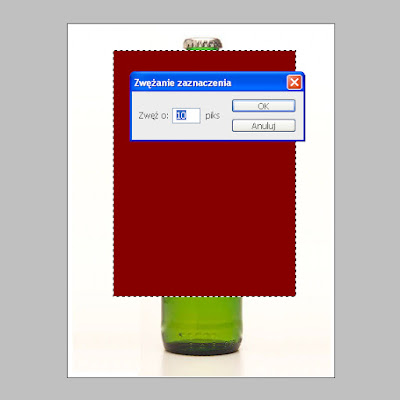
I chose 10 pixels. If our selection was already narrowed to select the DELETE button on the keyboard and the shortcut Ctrl + D to deselect your object.
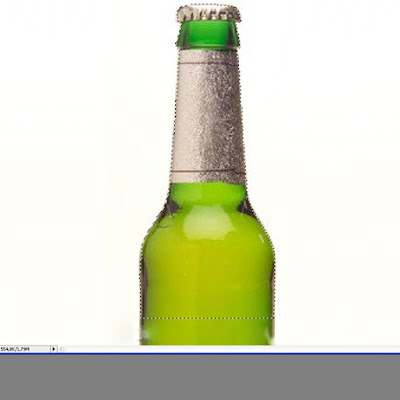
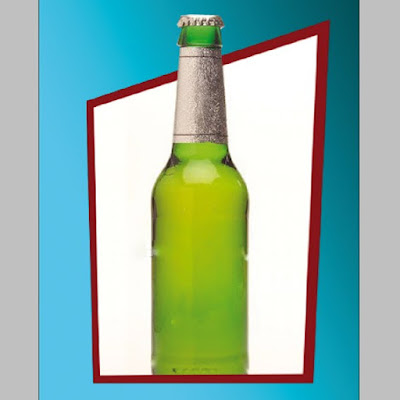
As we've done it all, we need to do as well as the layer of 0 - I have to hide by pressing the mesh on the palette with layers. Now select a tool to select Wand (W) or the Lasso (L) and select the area you want to stick your photos behind the frame
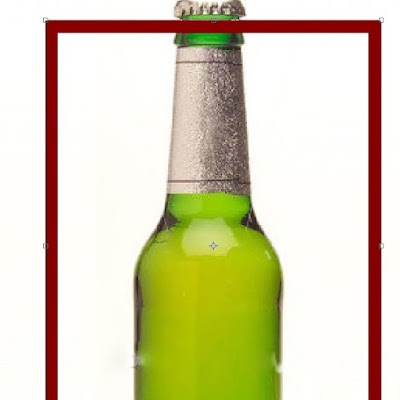
That's just something walks like at the screen above. Now use Ctrl + J to duplicate our selection. When you are ready we can turn our back frame by clicking on the mesh in the layers palette. Now click on the layer with our frame so that it is highlighted in blue and select the shortcut Ctrl + T to transform this can be.
We see that the edges of our frames, there are small boxes that transform our frame by using the Ctrl key and left mouse button, we can somehow curiously formed. Note that Ctrl need to hold all the time.
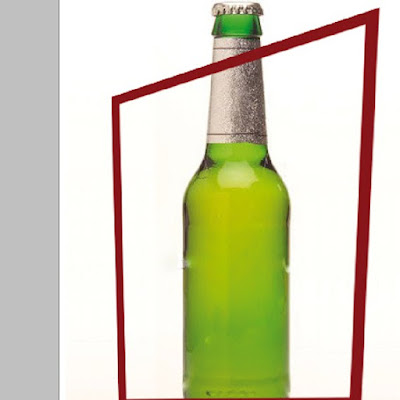
We reaffirm the transformed frame by clicking Enter. Now go to the pallets with layersand drag down the frame so as to obtain the effect as in the picture
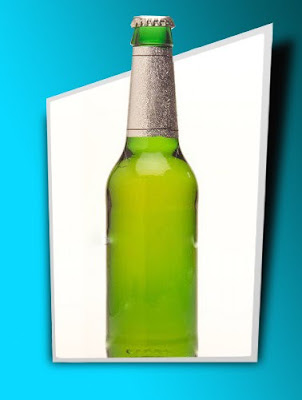
Now we have to get rid of the unwanted background. Highlight the Layer 0 copy and select the Eraser tool (E). Now, erasing all around our borders.

We already have quite an interesting effect. Now select the Shift + Ctrl + N is a new layer and do some background. Remember that the layer with the background must be at the bottom of the layers palette so that nothing is overshadowed
Yet we have been at the end of a layer, and specifically with our second layer of the rectangle. Select it and choose Ctrl + T to transform, as before, using the mouse and the Ctrl key. The idea is to do with this shadow.

It is nice however, but something is wrong! We need to move the layer below the rectangle so that our image revealed. If you have already created, you can choose a different color of the rectangle by clicking on the layer with the right mouse button and selecting blending options. Rozmycie->Rozmycie Gaussowskie.">You can also use Filter-> Blur-> Gaussian Blur.
And that's all! Have fun and invite you to watch video! I invite you also to subscribe to my channel on Youtube!
Finish !!!
Brak komentarzy:
Prześlij komentarz