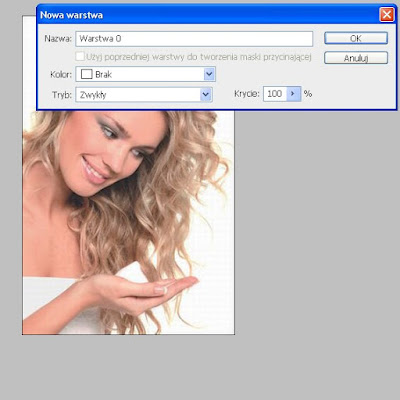
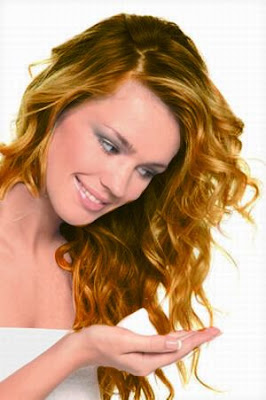
In this example I will show how this can be done but a little different way than in previous tutorials. Open the photo with "hair" and click twice on the layer called background so that the layer was 1 (but you do not need.
If anything this will help us more difficult to edit), we show the New Layer dialog and click OK.
If anything this will help us more difficult to edit), we show the New Layer dialog and click OK.
Now select the Edit tool in Quick Mask Mode (Q)
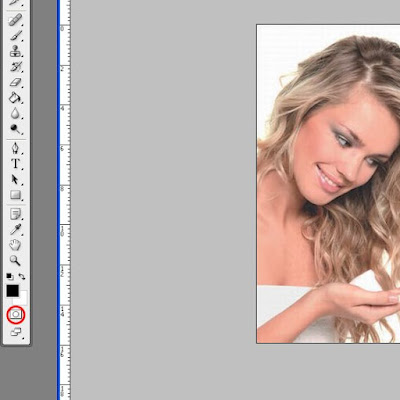
select the brush and we have painted over the entire area of hair
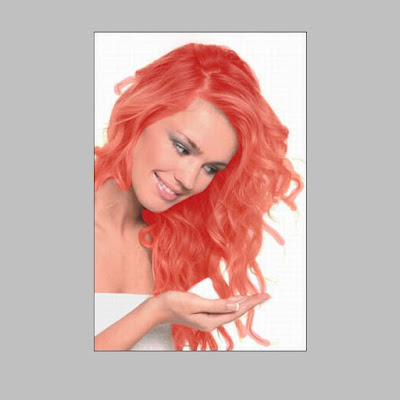 How I'll paint your hair is a wand tool to select and mark the painted area
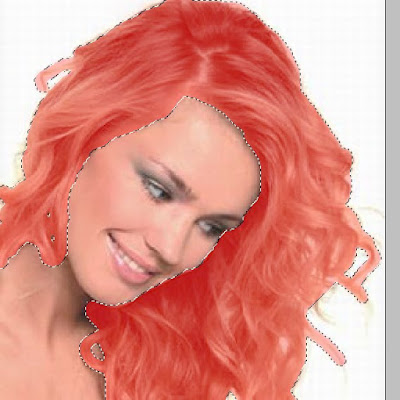
Now, from the top menu, choose Layer-> New adjustment layer-> color behind ... Show us a window, and there select mode-> Overlay
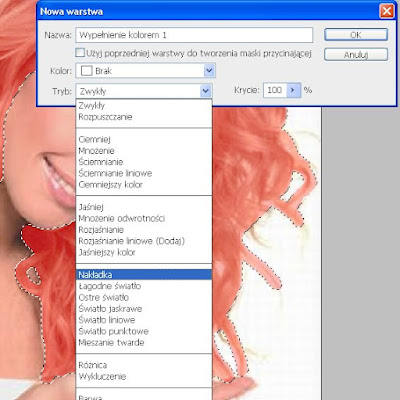
Press Ok and choose the color we want to achieve. Hit OK and press Ctrl + D to deselect our hair. Select the Brush tool, set on a soft tip and erasing unwanted excess color (Remember that the default colors were AUSLOESCHUNG, the issue is to the left in those two colors were kwadracikach Black and White), in the case of color deficiency select the X button, or manually change white and black paint and hair color such as we went!
And we are ready to effect
Feel free to watch the video !!!

Brak komentarzy:
Prześlij komentarz